Zombie Special Effects Makeup Tutorial ft. Mehron Makeup
Written by Aesthel
Make Up by Aesthel , Photography by Emily Rey, Modeling by Jordubs
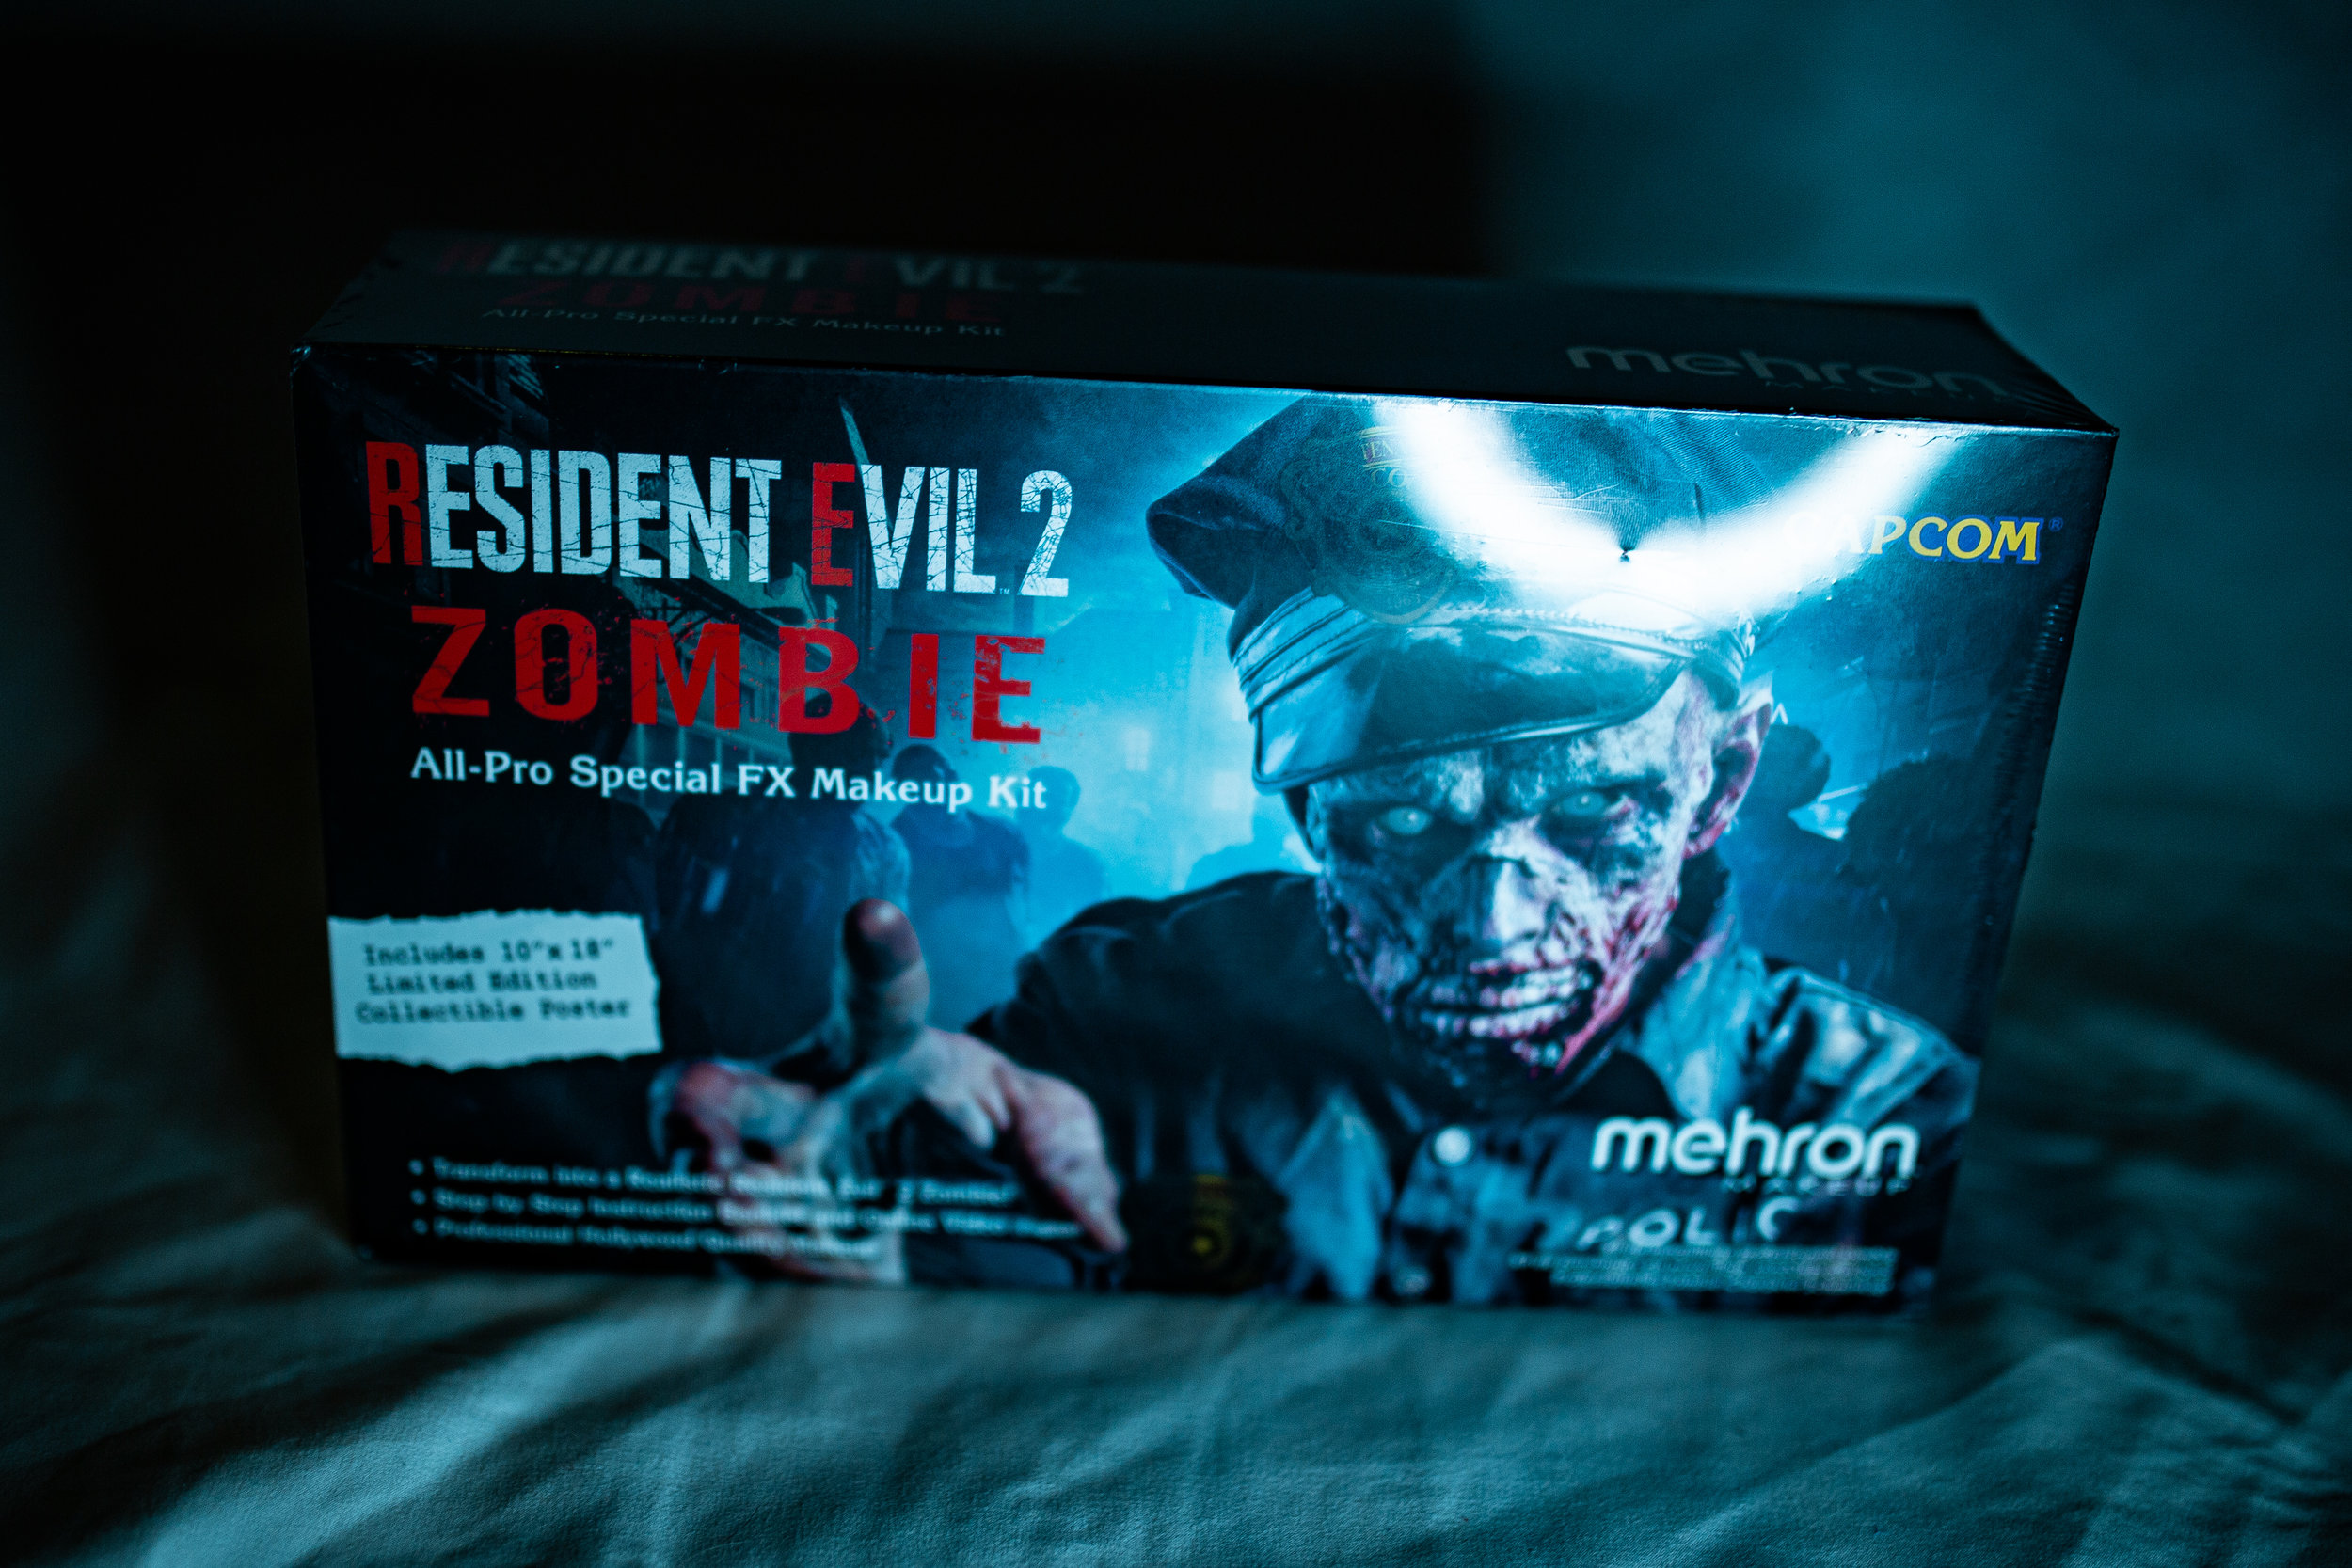
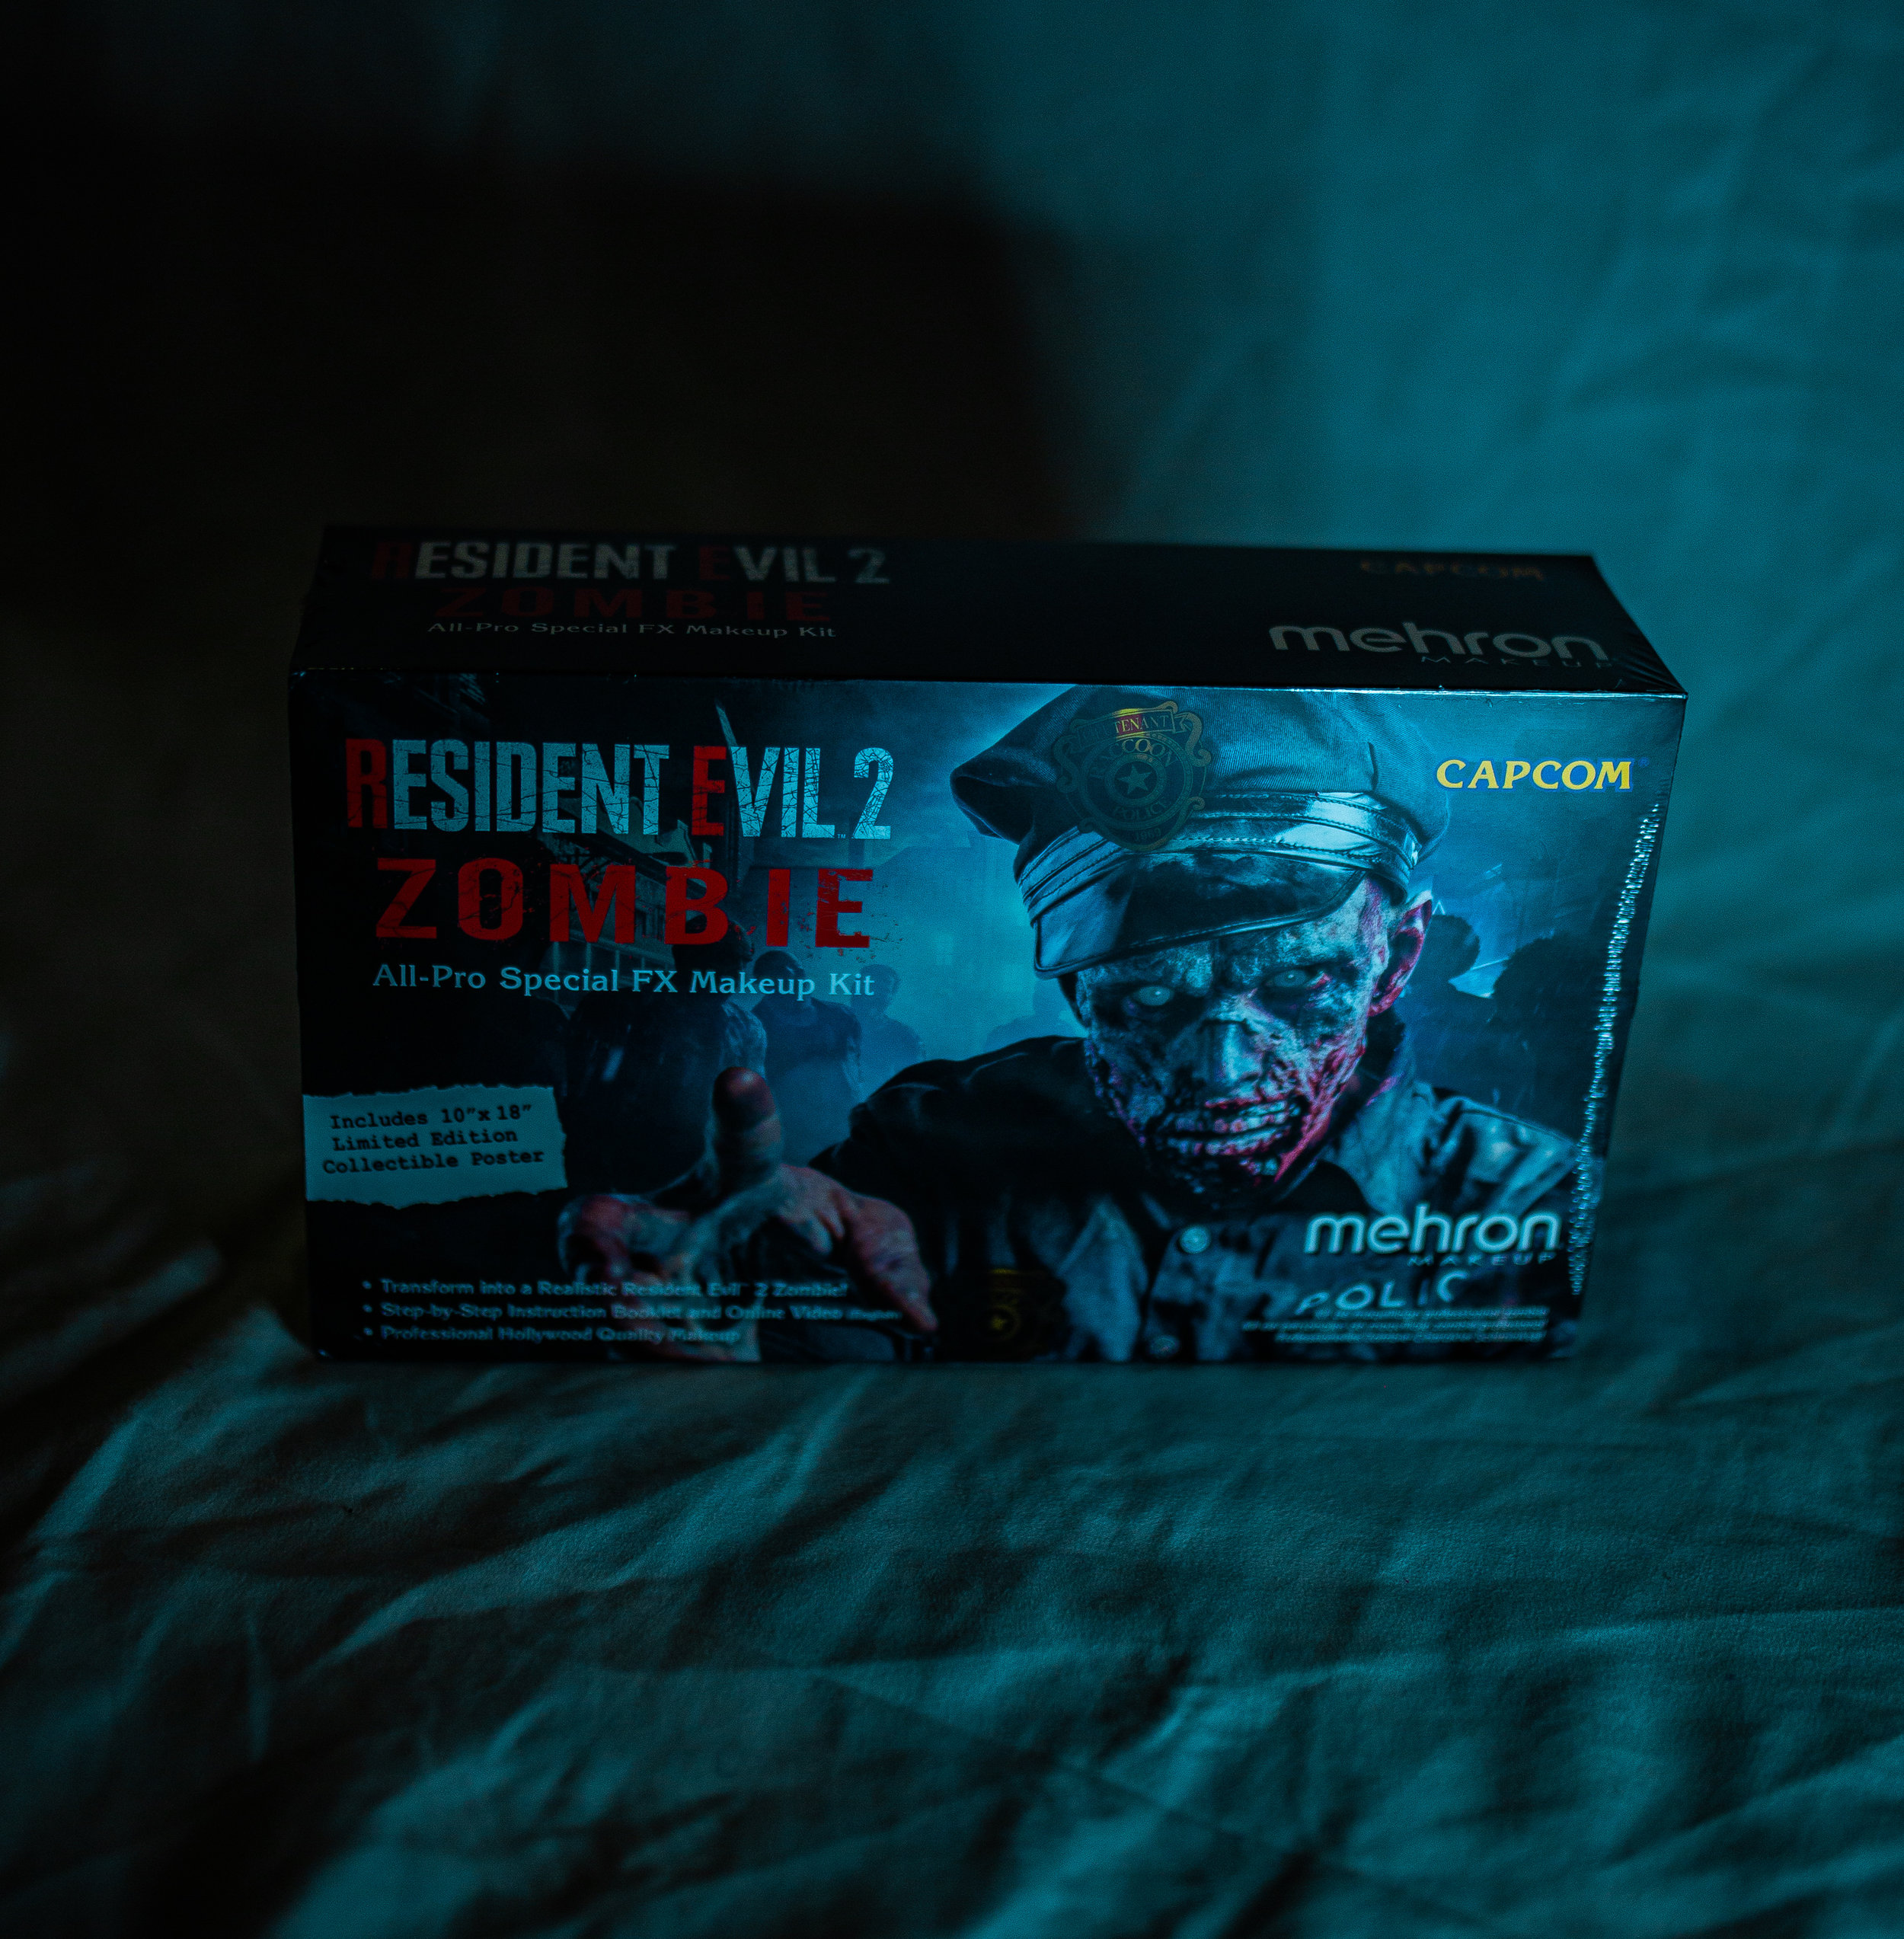
For the Gothic Horror issue of Cosplay Realm Magazine we had the incredible opportunity to team up with Mehron Makeup and test out their new Resident Evil™ 2 Zombie All-Pro Makeup Kit! We were so thrilled about this opportunity and it was a super exciting experience for our team! It was also really exciting because CRM team member Aesthel is a special effects makeup artist with The Shoggoth Assembly, so she had some experience working with these kinds of materials. It was perfect for setting us up for a great photoshoot! Before we get into our experience, here’s some information on the kit itself:
Introducing the Resident Evil™ 2 Zombie All-Pro Makeup Kit from Mehron! This deluxe kit lets the every day gamer recreate the terrifying Raccoon City zombies from the popular Resident Evil™ 2 video game franchise! The kit contains all of the necessary professional special FX products used by leading Hollywood makeup artists. With the included step-by-step instructions and applications tools, now virtually anyone can create their own truly professional Zombie look and bring a Resident Evil™ 2 character to life! Packed with products and great pro advise, Mehron’s latest All-Pro Kit is an exceptional value that can’t be beat! There’s nothing better for amazing RE2 Cosplay, Zombie Walk, and Halloween adventures! Get your limited edition kit today!
Highlights:
• Special Limited-Edition Collectible All-Pro Makeup Kit only from Mehron
• Includes all the makeup needed for a truly professional Resident Evil™ 2 Zombie
• Ultra long-lasting makeup wear
• Includes all necessary makeup tools
• Includes 10” x 18” Poster printed on the inside of the packaging sleeve
• Includes easy to follow, fully illustrated, step-by-step Instruction Booklet.
• Online video tutorial is also available
• Made in the USA with the highest quality ingredients
• Professional Hollywood makeup at an exceptional value
• Great for Cosplay, Zombie Walks, Halloween, and anytime you feel like being a Resident Evil™ Zombie!
• Contents include: ProColorRing Bruise Wheel, SynWax 1.5 oz., Barrier Spray 1 oz., Spirit Gum .125 oz, Spirit Gum Remover 1 oz., Colorset Powder .5 oz, Fixative “A” .125 oz., Coagulated Blood Gel 1 oz., Stage Blood 1oz. Dark Venous Shade, Liquid Makeup 1 oz. Black, Liquid Makeup 1 oz. Moonlight White, Color Cup .5 oz. White, Color Cup .5 oz. Black, Chip/Splatter Brush, Spatula, Powder Puff, Makeup Brush #312F, Makeup Brush #318F, Stipple Sponge 3pk, Non-Latex Sponges 6pk!
• Total value: Over $145.00 if products purchased separately!

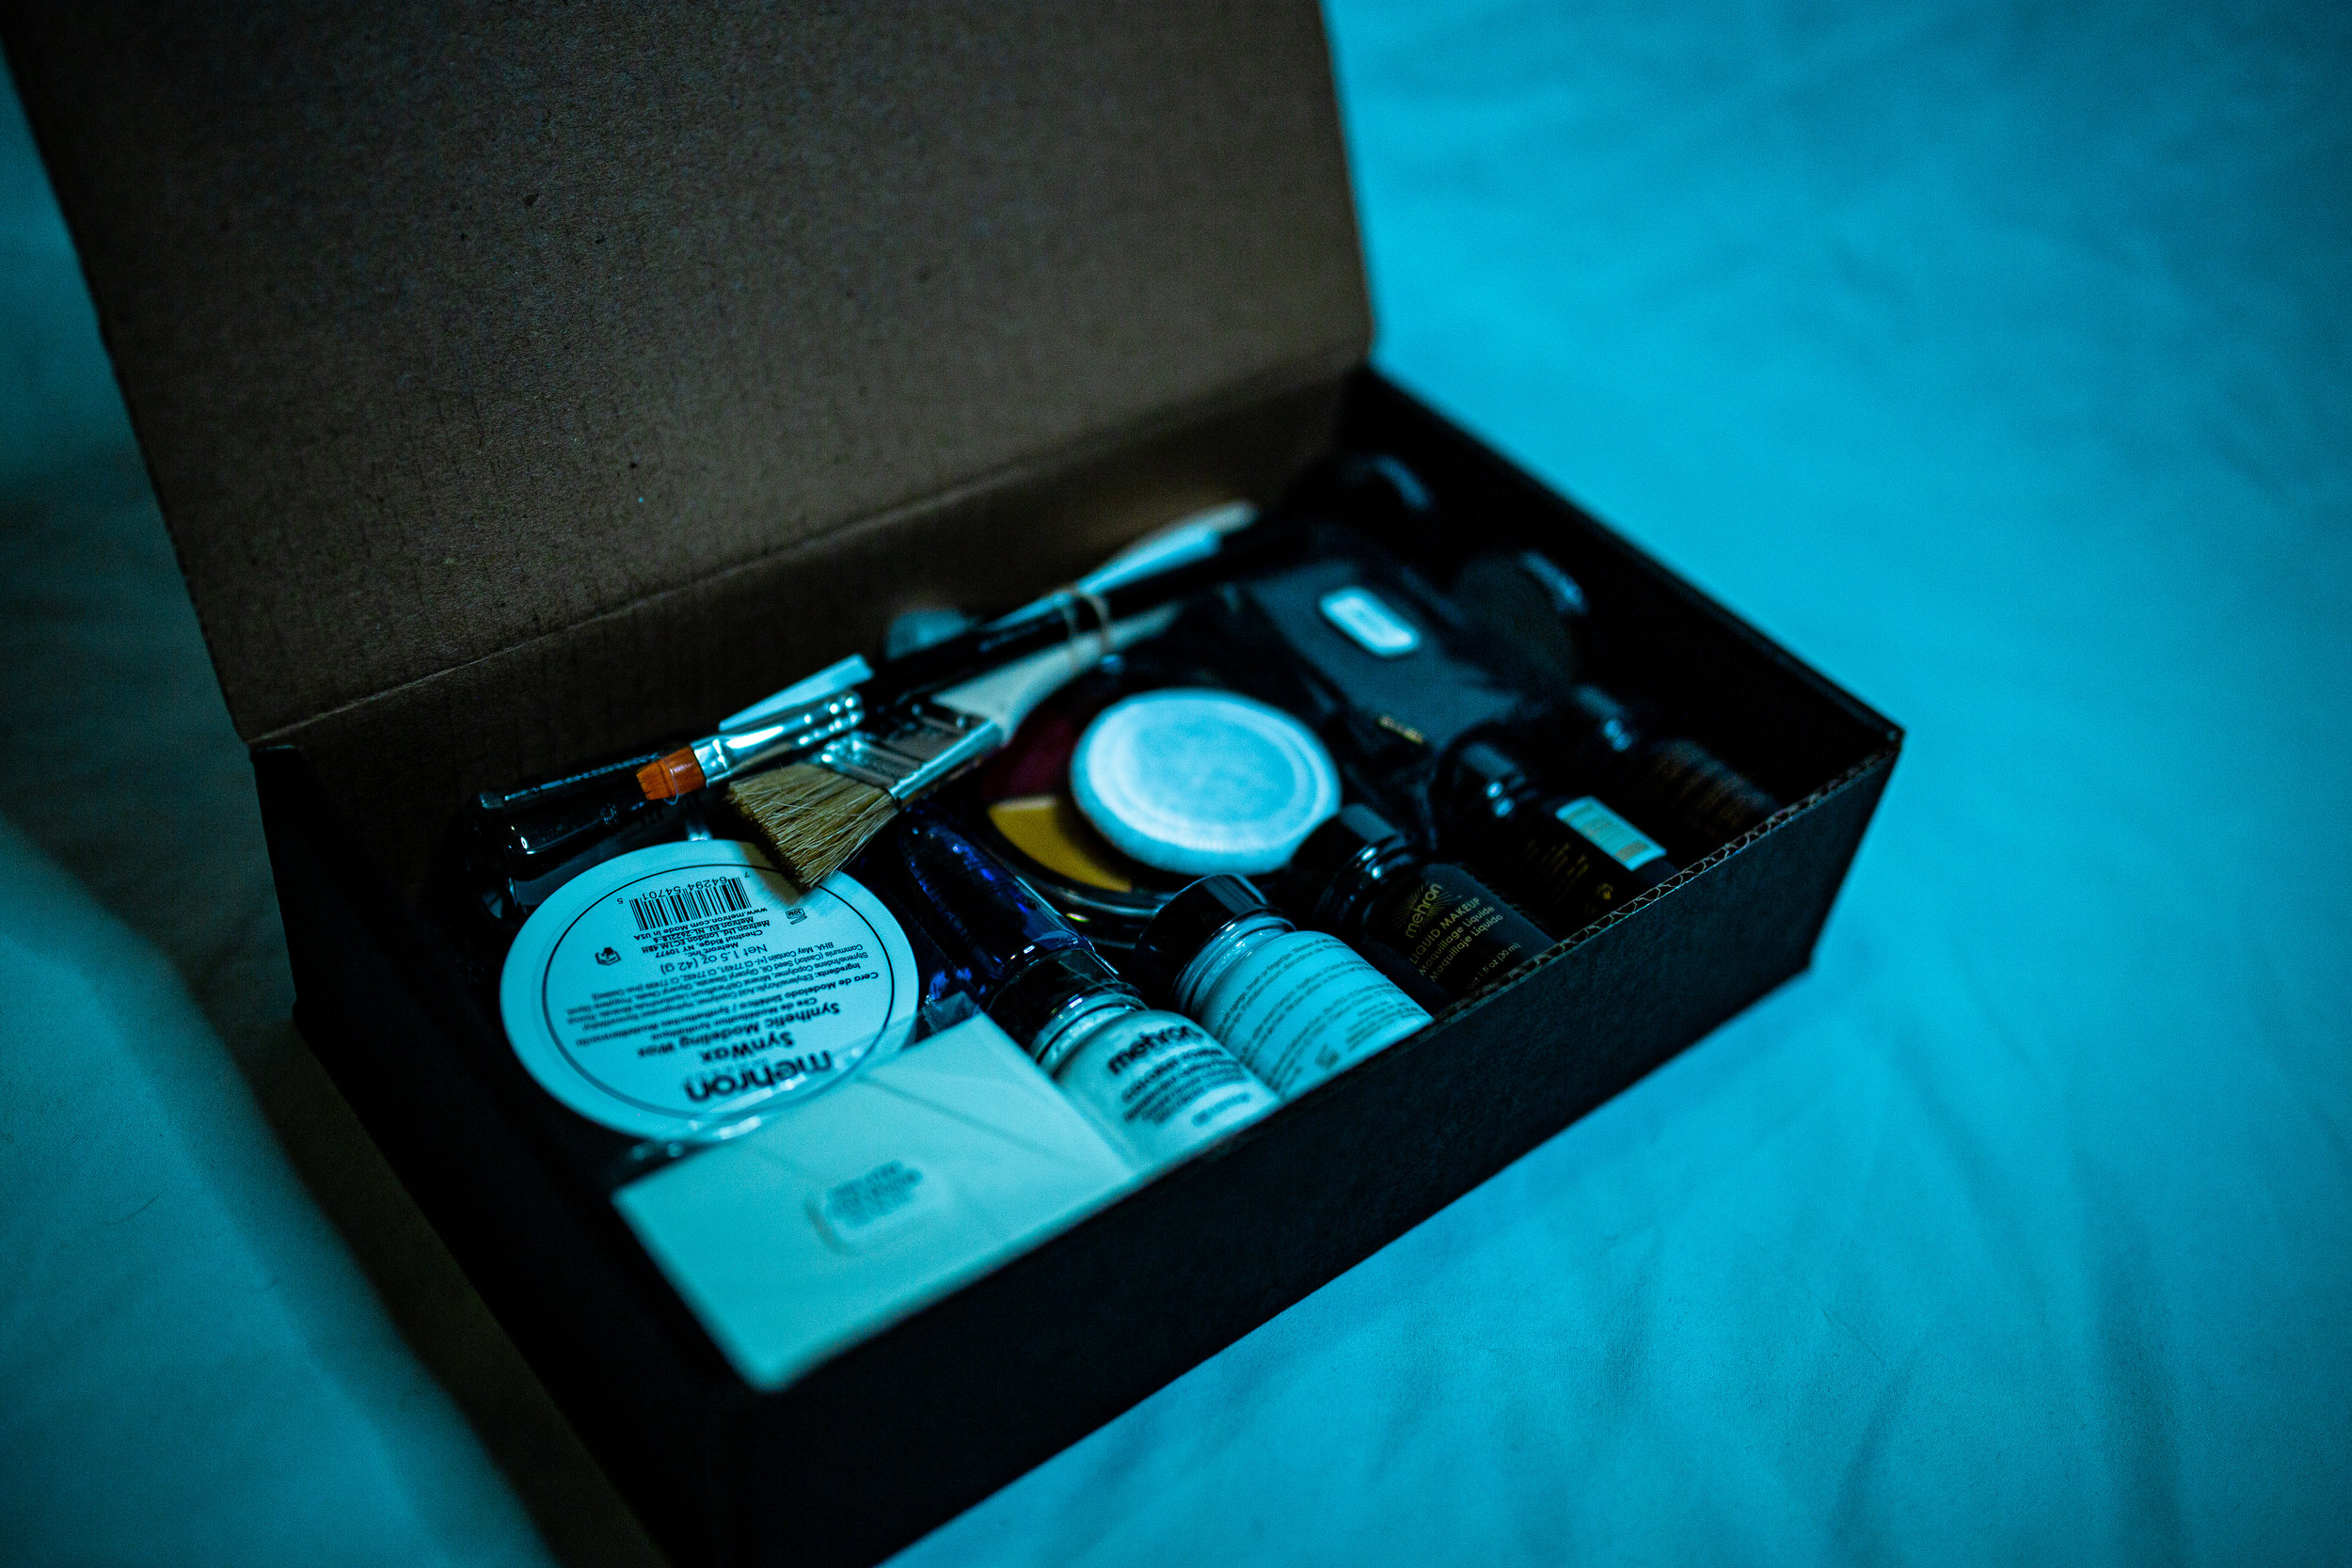

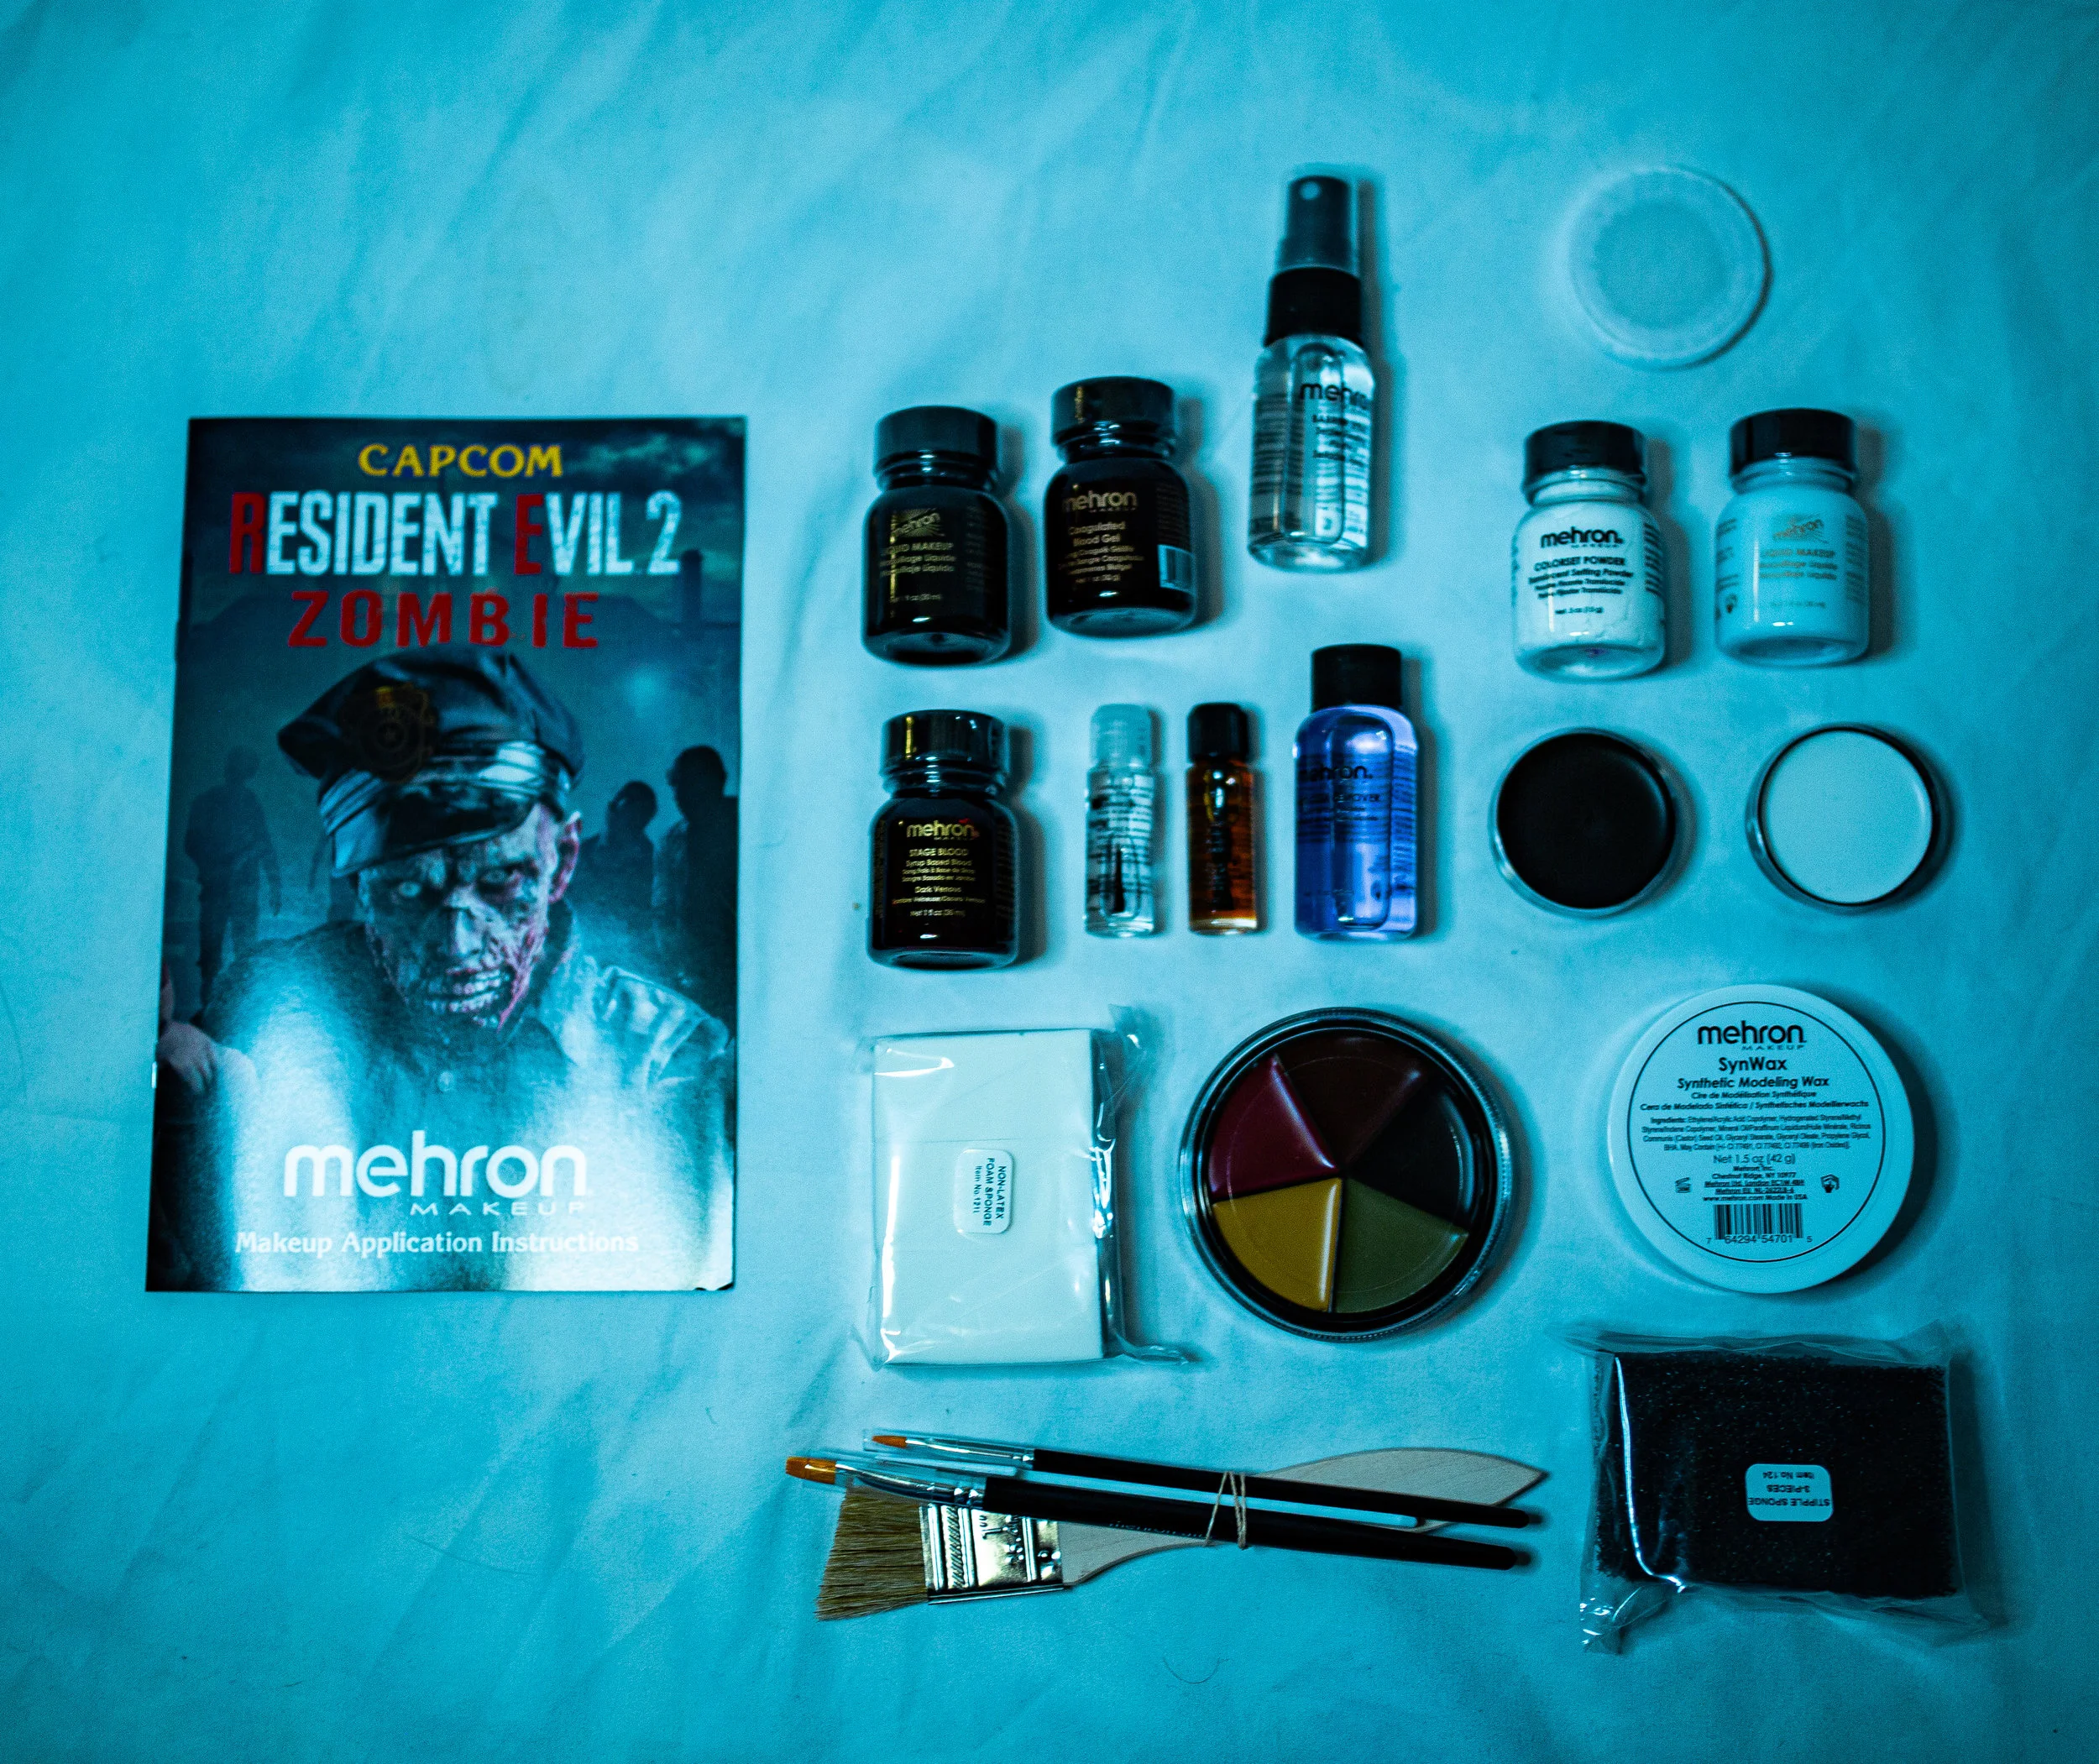
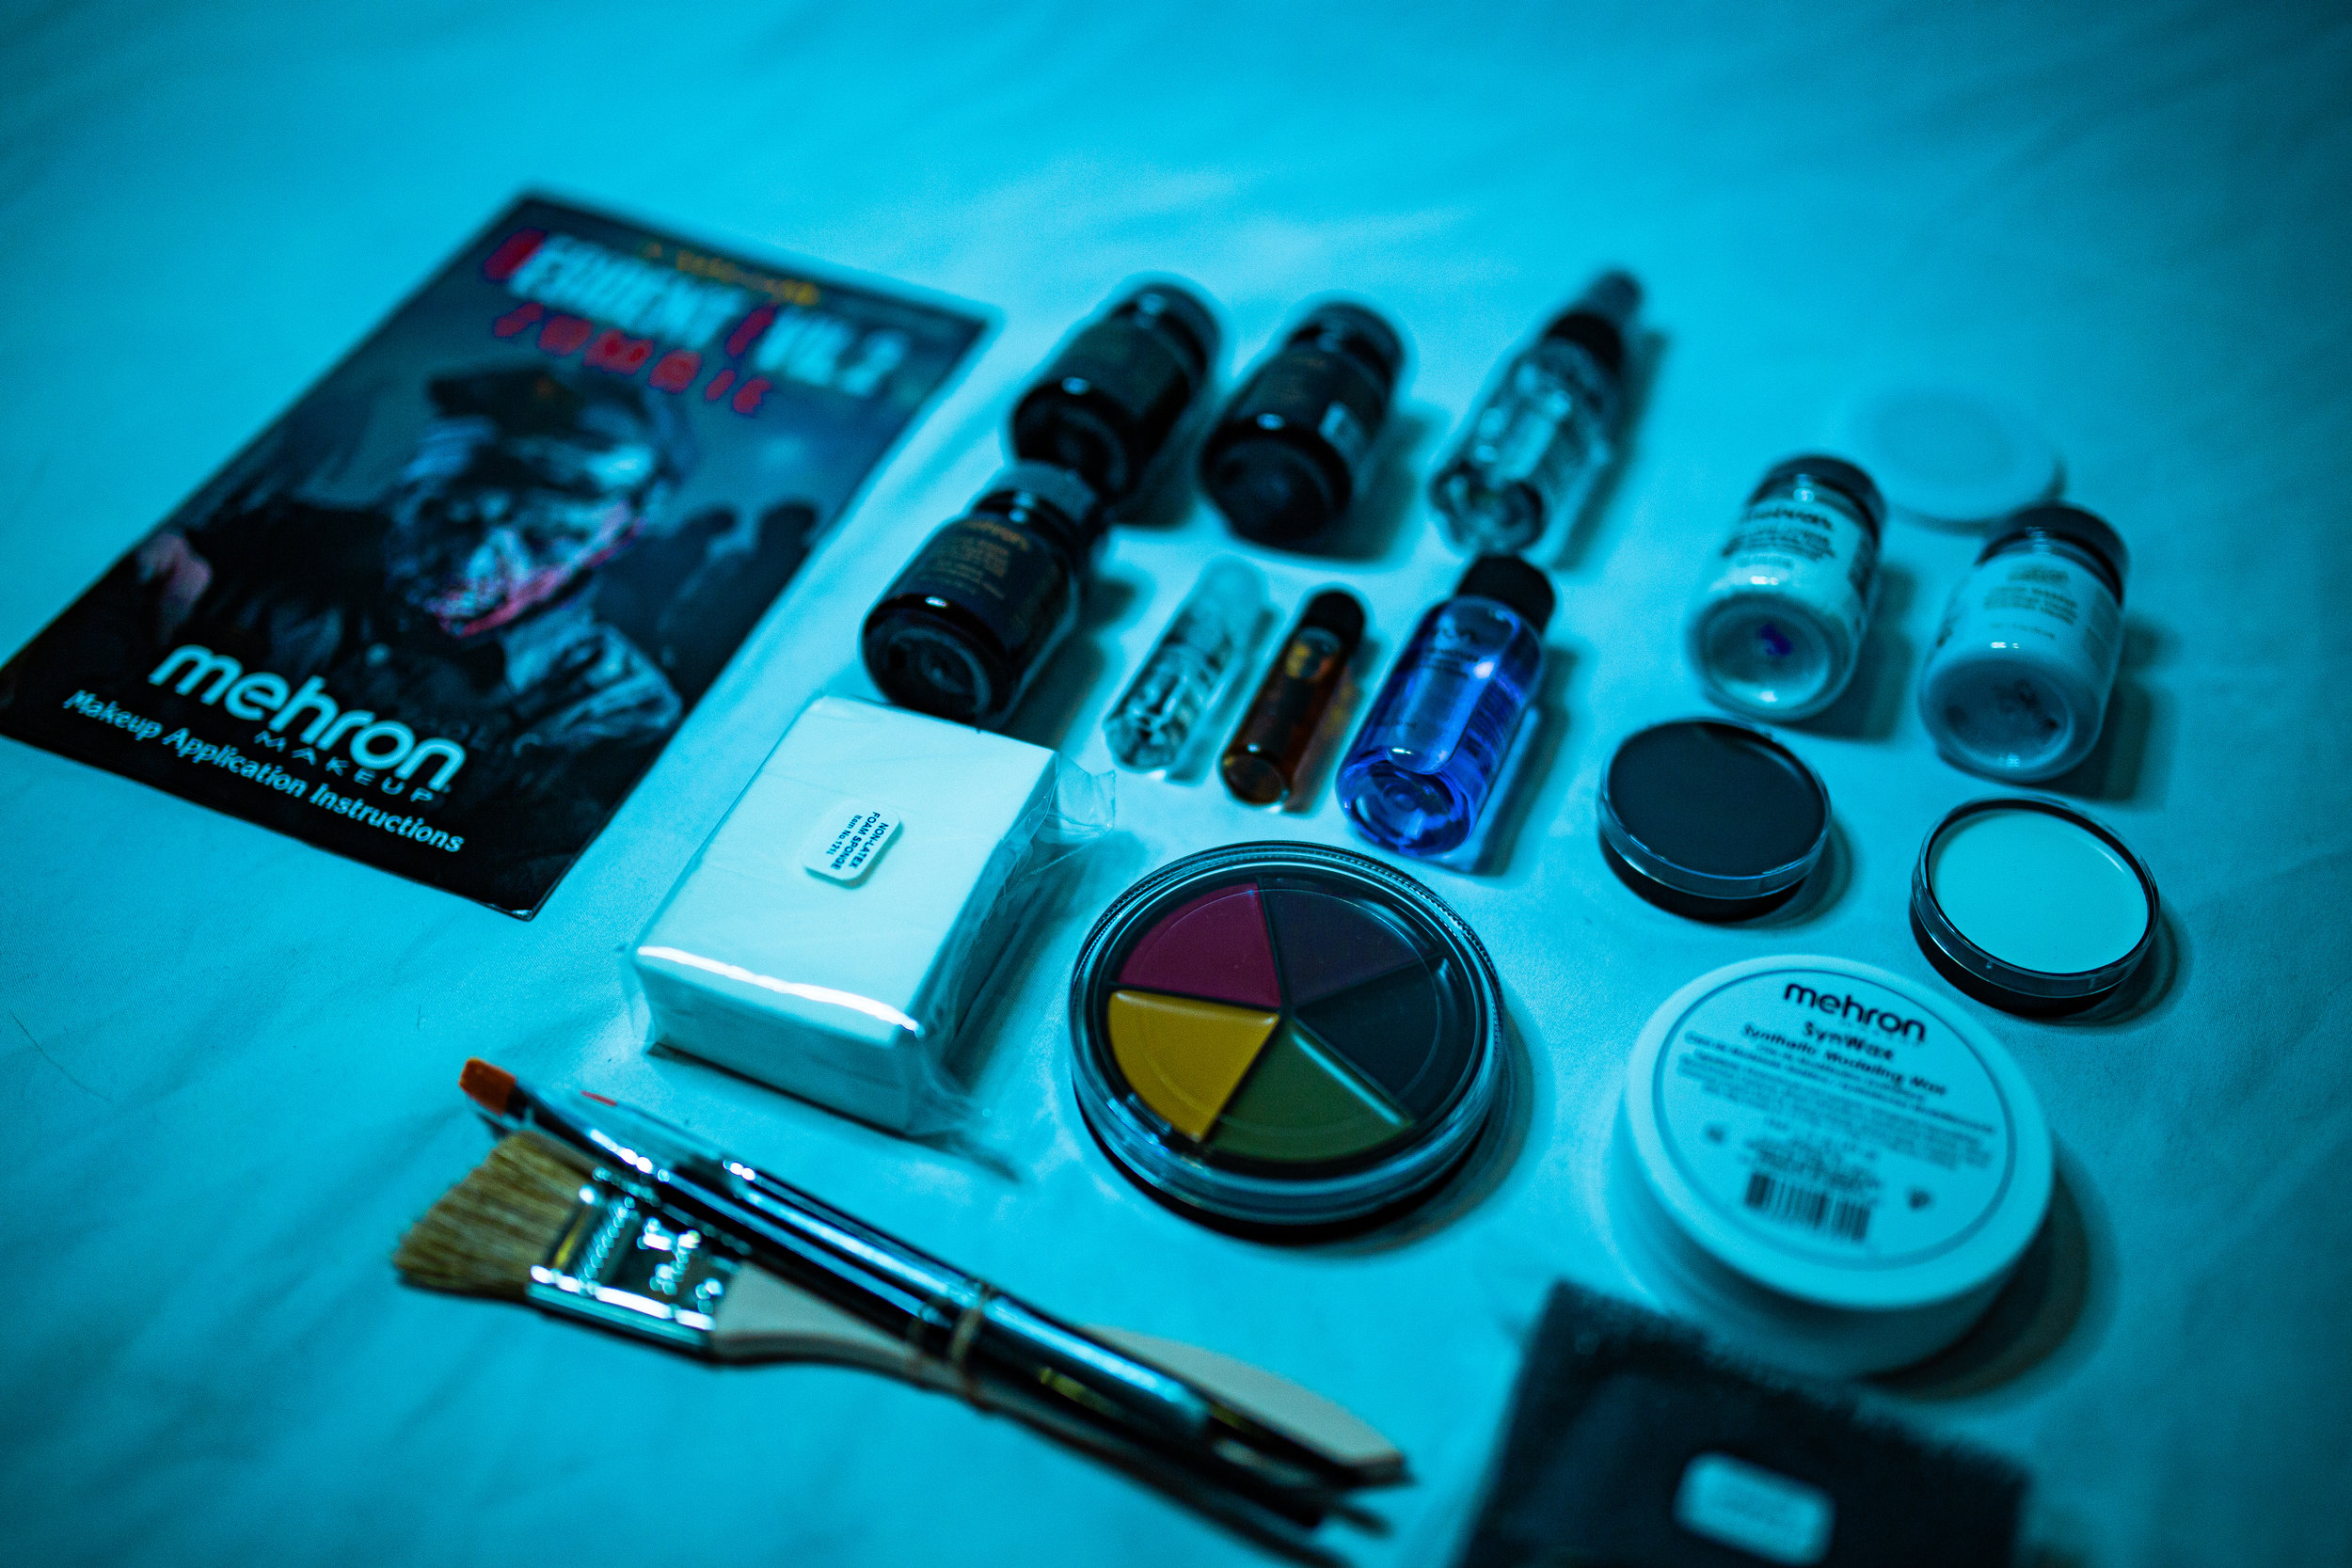


With all of that great stuff, you’re perfectly set up to create your very own zombie look! Being that this make up kit is specifically based around the Resident Evil™ 2 game, it is perfect for cosplayers of the series! With all that in mind, lets get into our experience using this make up kit!
Sculpting Prosthetics

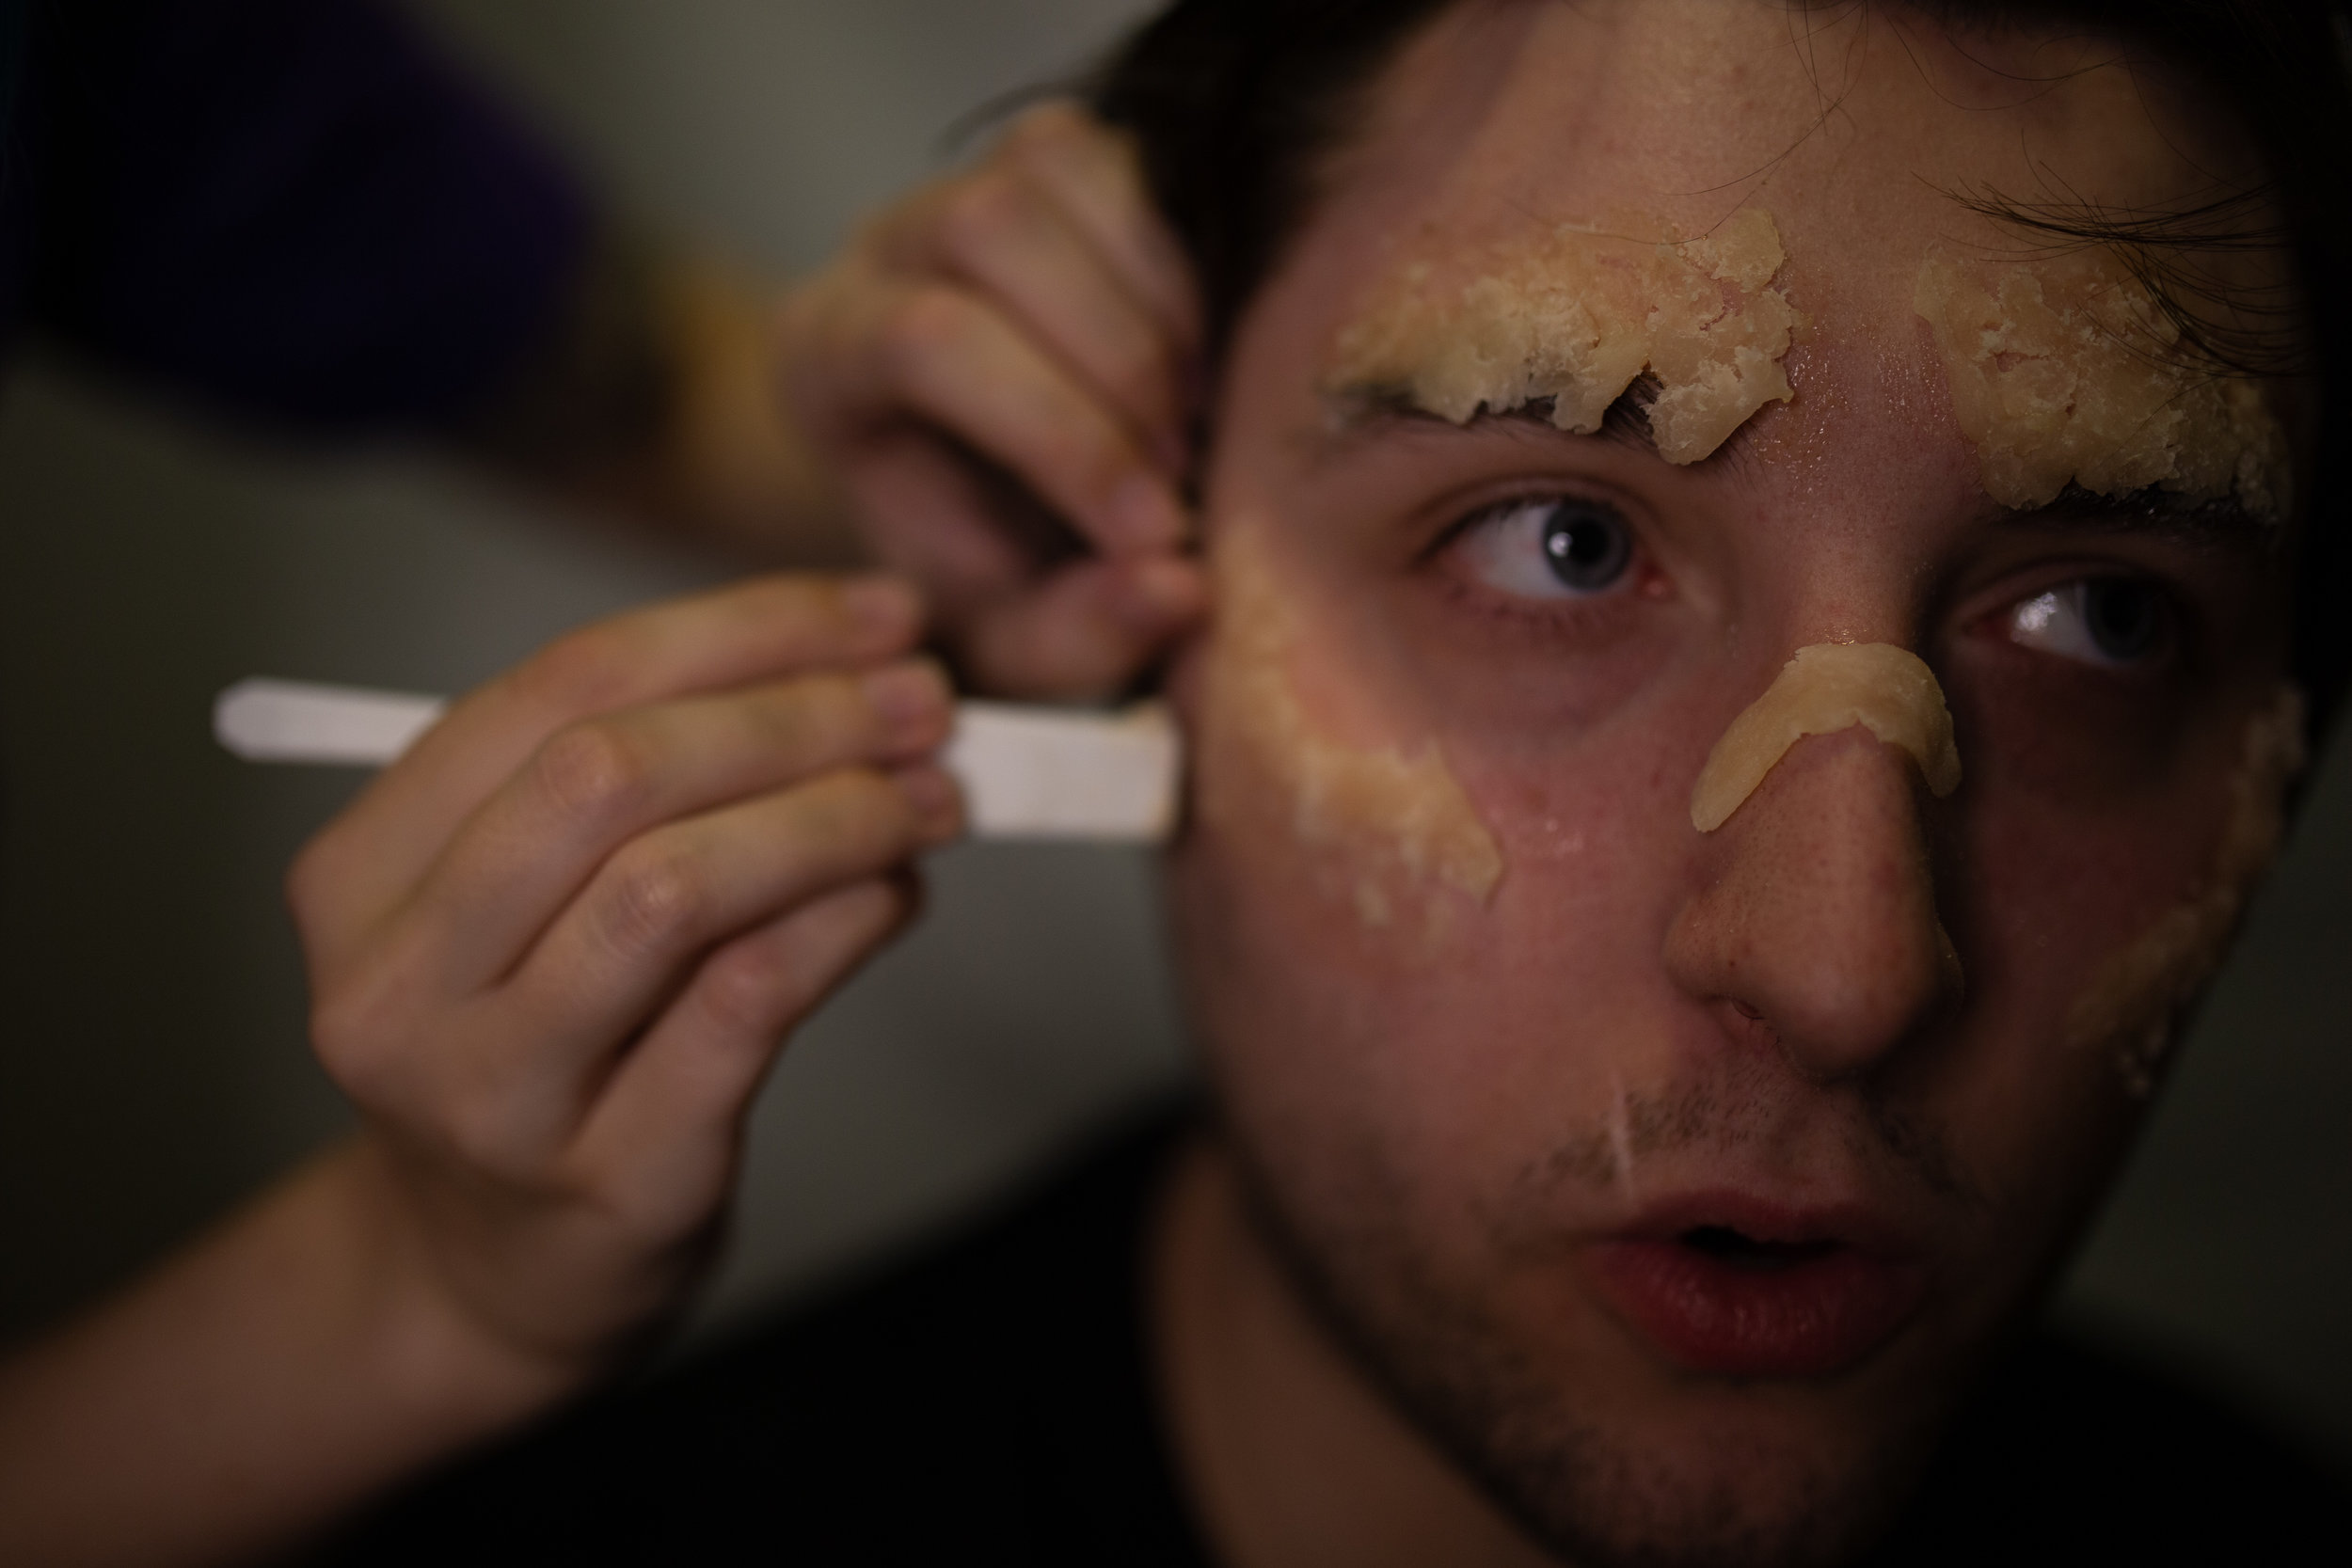


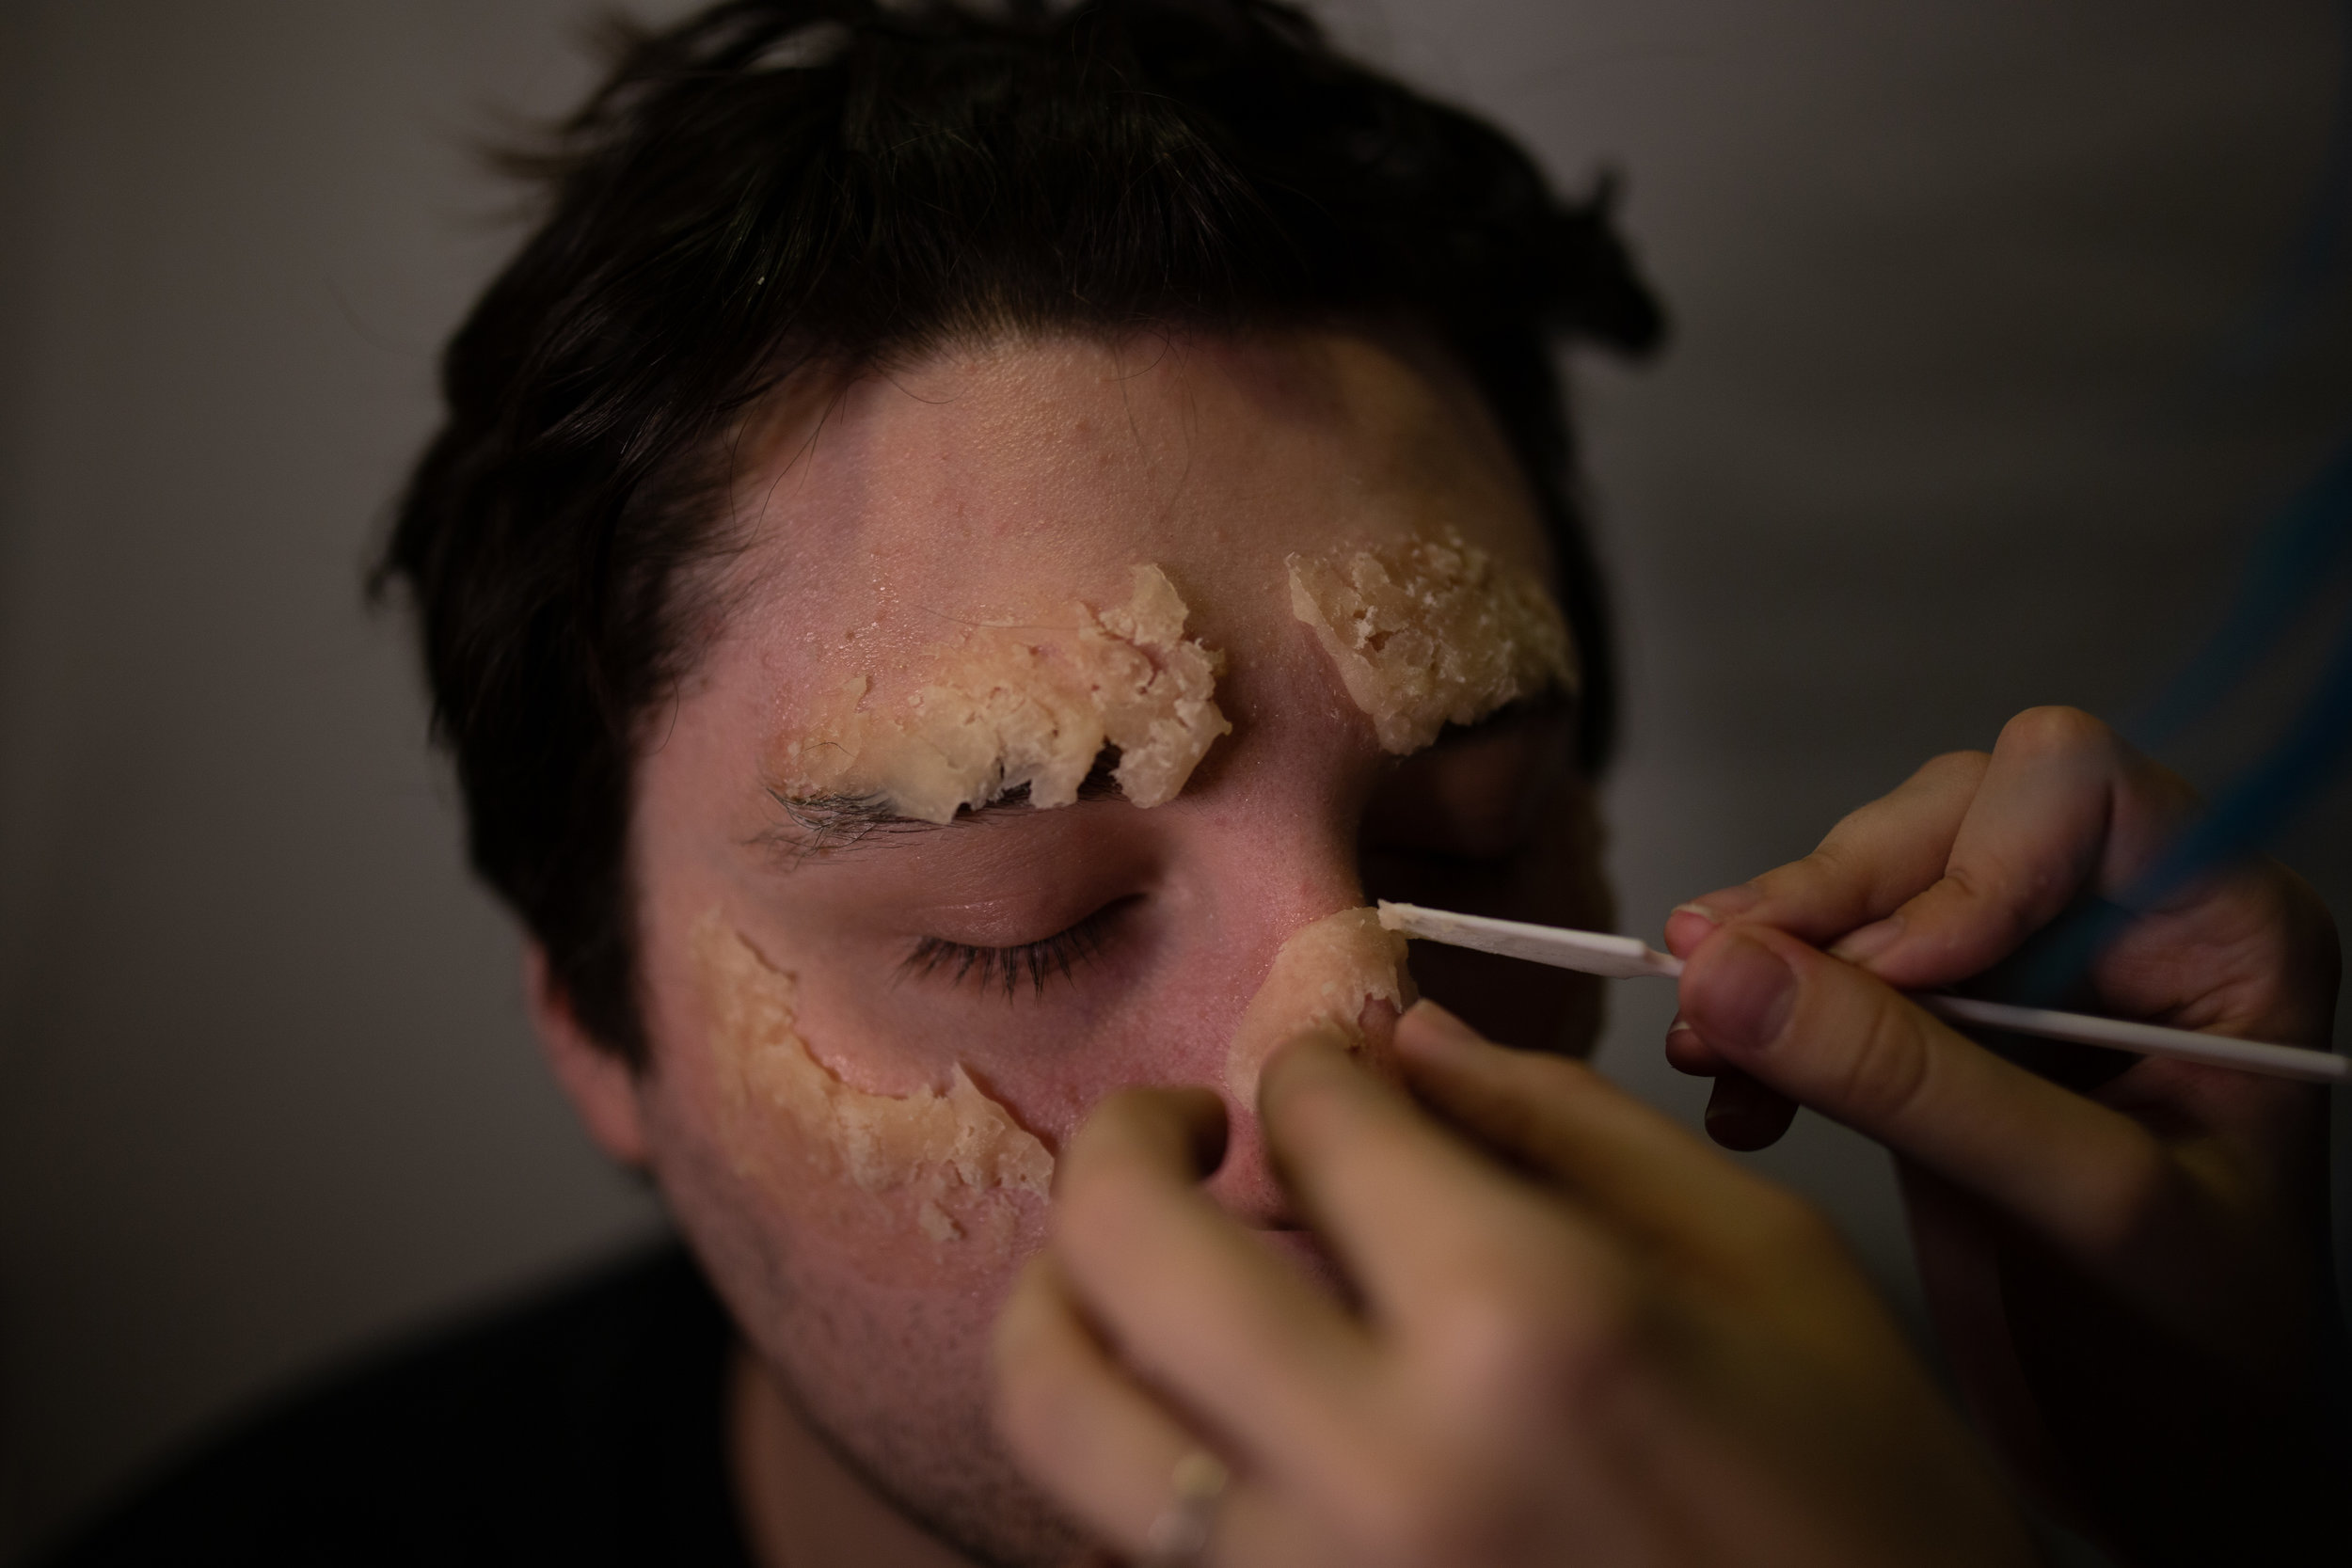
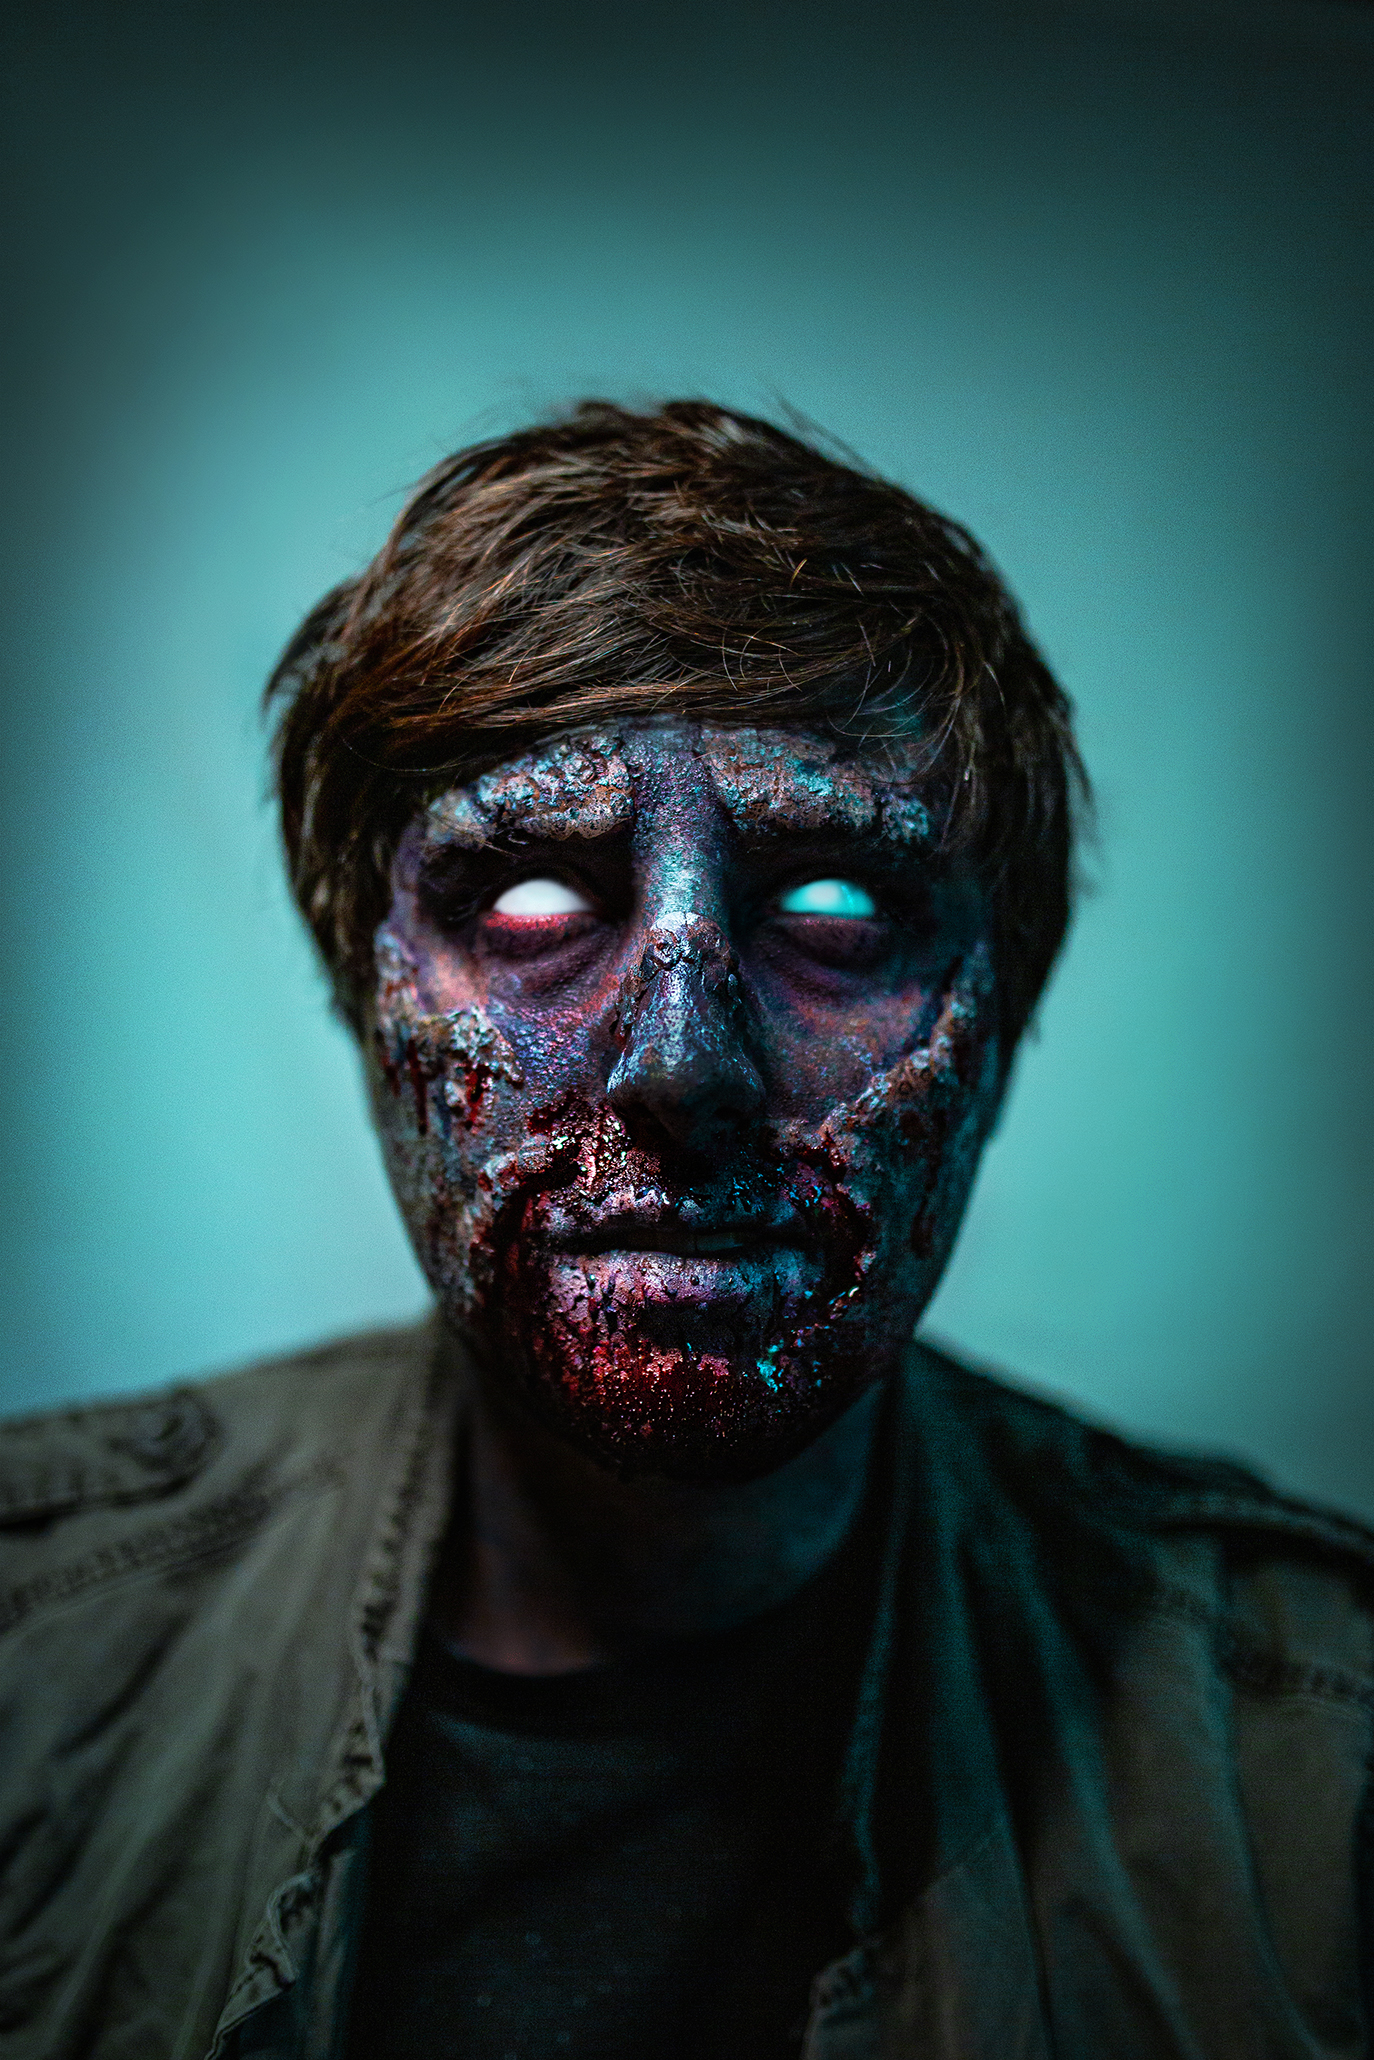
The first step to creating your zombie with the Resident Evil™ 2 Zombie All-Pro Makeup Kit is to sculpt up the prosthetics! This kit uses wax to build up the areas that you apply directly to the skin of your model. To use the wax you want to heat it up in your hands to make it more pliable and shape it to the preferred design. We followed the booklet for this zombie look, which had us placing the wax to give our model a stronger brow, defined cheekbones, broken skin around the mouth, and a raised nose bridge.
Coloring the Makeup


This kit came with a wide array of products to color your zombie with! We started out using the liquid makeup to splatter it on and make a dappled effect. The kit comes with black and white, but we also used a small make up palette to mix a grey together for more variation. After getting our base coat on we went in with the bruise wheel to add some more color into this zombie. Being that it’s a zombie we don’t want to add color in a lively way, and the colors in the bruise wheel are perfect for making an old decayed look.
Add Blood
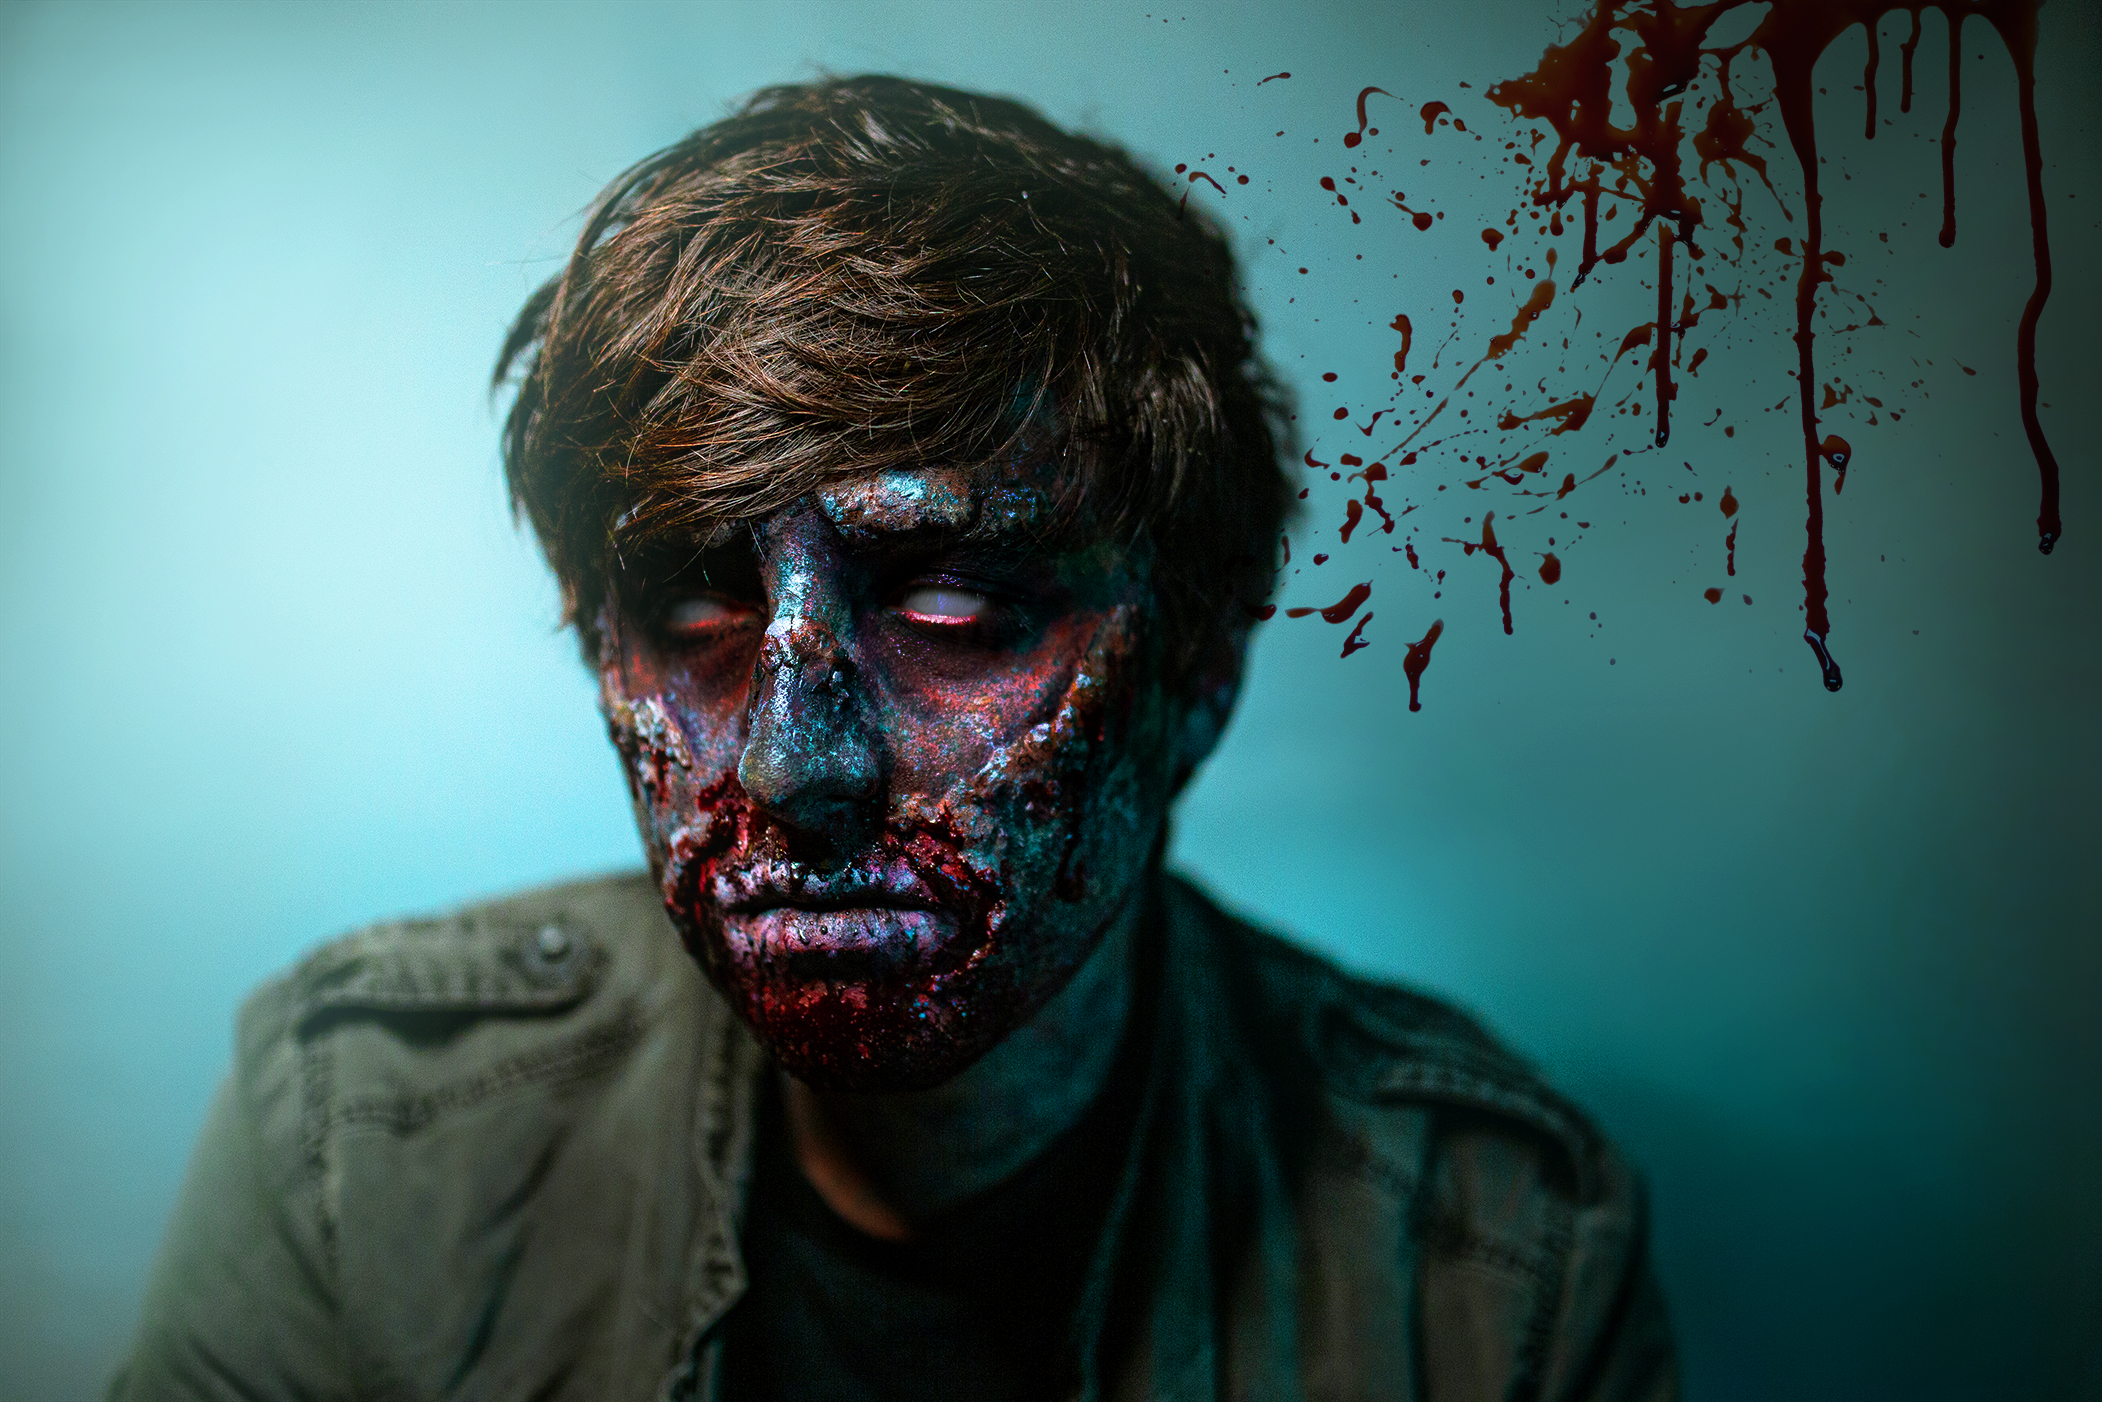
After getting our zombie to a place that we were happy with color wise we finally get into the most fun step, adding blood! This kit came with two types of blood, a syrup based stage blood and a thick coagulated blood gel. The thicker blood is good for areas that need to have more opaque blood or areas where there is dried blood while the stage blood is good for active and runny blood. Our zombie had the majority of his blood around his mouth with his peeled back flesh, but you can never go wrong with a bit of blood splatter in other places, especially on a zombie!


With that we have our completed zombie! For a more detailed tutorial on using this kit, check out Mehron’s video! The kit also comes with a booklet with a detailed step by step guide to help you through using it. This is a really great kit, especially for beginners, since it includes such a detailed walk through and easy materials to use!
For more behind the scenes looks into this photoshoot, be sure to check out our video on the make up kit and shoot below!